Ensuring the proper cleaning, disinfection, and sterilization of dental instruments is critical in preventing cross-contamination and maintaining a safe environment for both patients and dental healthcare providers. This article outlines a comprehensive and professional approach to the cleaning and sterilization process of dental instruments, based on best practices and guidelines from authoritative health organizations.

Introduction
Dental instruments are used in procedures that often involve exposure to blood and other bodily fluids, making them potential vectors for infection if not properly sterilized. Effective sterilization and disinfection procedures are essential to eliminate pathogens and prevent the spread of infections.
Cleaning & dry
Initial Cleaning
The initial cleaning process is essential to remove organic and inorganic debris from dental instruments. It not only makes sterilization more thorough, but also avoids damage to dental instruments caused by coagulation of organics during the high-temperature sterilization process. This step involves:
1. Pre-soaking: Dental instruments should be placed in a solution containing disinfectants and organic decomposition enzymes immediately after use. Pre-soaking prevents contaminants from drying out. The disinfectant solution and organic decomposition enzymes prevent cross-contamination and make it easier to remove the attached organic matter during the subsequent cleaning process.

2. Manual cleaning: Use a soft-bristled brush to scrub the instrument under running water. Cleaning under running water removes the residual disinfectant and enzymes from the previous step. The brush removes visible contaminants from the surface of the instrument. Gloves should be worn during the brushing process, taking care not to be scratched by sharp dental instruments.
3. Ultrasonic cleaning: It is suitable for difficult-to-clean instruments such as bloodstained tooth forceps, burs, and other instruments with complex structures. The cavitation, acceleration, and direct flow of ultrasonic waves in the liquid act directly or indirectly on the liquid and dirt, causing the dirt layer to decompose, emulsify, and peel off to achieve a cleaning effect. This process can penetrate into blind ends and micro parts that cannot be reached by manual cleaning. The ultrasonic cleaning time should be 3 to 10 minutes, and the cleaning time can be appropriately determined based on the contamination level of the instrument and the power of the ultrasonic machine.
Note: Ultrasonic cleaning is only an auxiliary method to manual cleaning.
Rinsing and Drying
After cleaning, the instruments should be rinsed with distilled or deionized water to remove any residual detergent. Then, they should be placed in a dental instrument dryer to dry. They must be completely dried to prevent corrosion and ensure the effectiveness of subsequent sterilization.
Check maintenance and packaging
Inspection and maintenance

Dried oral instruments should be inspected visually or with a lighted magnifying glass. The detailed standards are as follows: the surface of the instrument, the spiral structure, and the joints should be free of stains, water marks, and other residual substances or rust spots. Instruments that are not properly cleaned should be reprocessed. Damaged or deformed instruments should be reported and replaced in a timely manner. Additionally, equipment that requires oiling maintenance, such as dental handpieces, should be oiled to maintain optimal performance.
Device packaging sealing
According to the characteristics of the device and the frequency of use, select the appropriate packaging material for packaging. After encapsulation, it can reduce the collision of instruments during the sterilization process and during storage. At the same time, it also keeps the instrument sterile after sterilization.
Sterilization
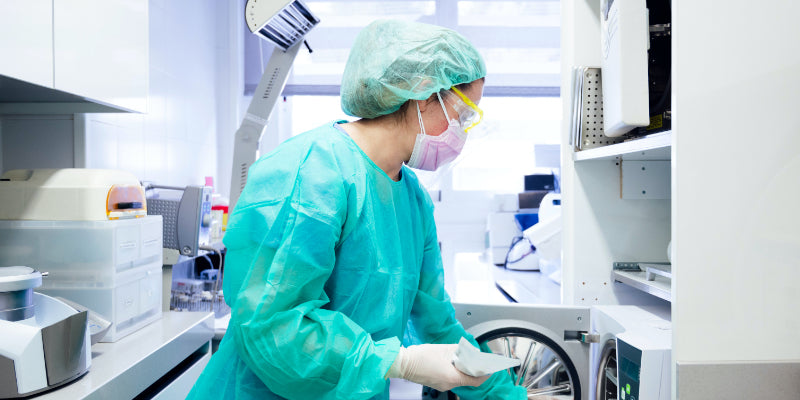
Most dental clinics use autoclaves for sterilization, and only instruments that cannot be autoclaved are sterilized with chemicals (e.g., glutaraldehyde solution).Autoclave Loading Principles:

1. Select a reasonable weight of the loaded items according to the size of the sterilizer cavity, adhering to the manufacturer's instructions. Ensure the loaded items allow the smooth flow of steam in the sterilization chamber, resulting in a uniform temperature throughout the interior.
2. Ensure the configuration facilitates the exhaustion of air from the sterilization chamber. This ensures that the vapor pressure and temperature in the vessel are consistent.
3. Do not block the temperature, pressure, and other sensors to avoid affecting the normal operation of the sterilizer.
Loading Method:

Do not stack the sterilized items tightly to prevent blocking the measurement and control ports of each sensor. Blocking these ports can prevent the sterilizer from correctly reflecting the temperature in the sterilization chamber, leading to continuous heating, which may cause abnormal pressure and temperature, or even result in sterilization failure.
Sterilization Monitoring
It is essential to monitor the sterilization process to ensure its effectiveness. This includes:
1. Mechanical monitoring: know whether the sterilization cycle process meets the standard through the temperature, pressure, time and other parameters recorded by the sterilizer.
2. Chemical Indicator: Chemical indicators are used that change color when exposed to appropriate sterilization conditions.
3. Biological indicators: The spore test is placed in a sterilizer and then incubated to confirm that there is no microbial growth.
Storage
After sterilization, the device should be stored in a clean, dry environment, and we recommend that the sterilized device be placed in the UV sterilization cabinet along with the sterilization package, so that the device can be sterile for a long time.

